Creating a warm and inviting atmosphere in your home often starts with your walls. Blank walls can feel cold or unfinished, but professional artwork and décor can sometimes be expensive. The good news? With a few simple materials and some creativity, you can craft your own stylish wall décor to personalize any room.
In this post, we’ll explore a variety of easy DIY ideas that suit different tastes and skill levels. Whether you prefer something rustic, modern, or playful, there is a project here for you.
Why Choose DIY Wall Décor?
DIY wall décor offers several benefits:
– Customization: You control the colors, styles, and themes.
– Cost-effective: Materials are often affordable or found around the house.
– Creative outlet: It’s a fun way to express your personality.
– Satisfaction: Nothing beats the pride of displaying something homemade.
With these advantages in mind, let’s dive into some simple, stylish projects.
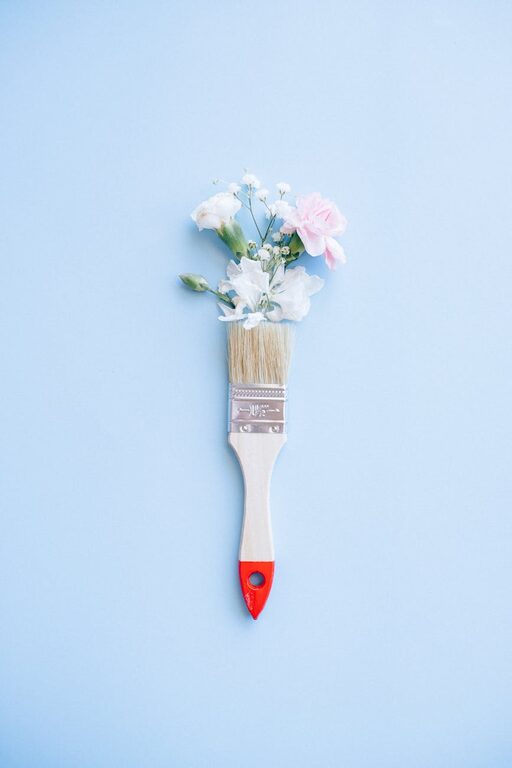
1. Painted Canvas Art
One of the easiest ways to add color and pattern to your walls is by painting your own canvas art.
Materials Needed:
– Blank canvas or canvas board
– Acrylic paints
– Paintbrushes or sponges
– Painter’s tape (optional)
How to Create:
- Start with a blank canvas of your preferred size.
- Use painter’s tape to create geometric shapes or patterns if desired.
- Apply paint using brushes or sponges. You can go for bold colors, ombre effects, or even abstract designs.
- Let dry completely, remove tape if used, and hang.
This is a great project for beginners and allows endless creativity.
2. Gallery Wall with Printed Photos or Art
Displaying a collection of framed photos or prints is timeless and meaningful.
Materials Needed:
– Various sized frames (mix and match if you like)
– Printed photos, artwork, or inspirational quotes
– Nails, hooks, or picture-hanging strips
– Measuring tape and level
How to Create:
- Gather your chosen prints and select frames.
- Plan your layout on the floor before putting anything on the wall.
- Use a level and measuring tape to space frames evenly.
- Hang your frames, stepping back frequently to check alignment.
A gallery wall allows you to showcase memories and art that inspire you.
3. Macramé Wall Hangings
Add texture and a boho touch with a handmade macramé piece.
Materials Needed:
– Macramé cord or thick yarn
– Wooden dowel or branch
– Scissors
How to Create:
- Cut cords to your desired length.
- Learn simple macramé knots — plenty of tutorials are available online.
- Create patterns and designs by knotting cords to the dowel.
- Trim ends for a neat or fringed finish.
Macramé adds warmth and softness to any room.
4. Floating Shelves with Decorative Items
Shelves are both decorative and functional, allowing you to display small plants, books, or collectibles.
Materials Needed:
– Floating shelves (store-bought or homemade)
– Mounting hardware
– Decorative items like candles, plants, or sculptures
How to Create:
- Decide where on your wall you want to install shelves.
- Use a stud finder and level to mount shelves securely.
- Arrange decorative items thoughtfully for visual balance.
Shelves create depth and dynamic interest beyond flat wall art.
5. Washi Tape Wall Patterns
If you want a non-permanent and budget-friendly option, washi tape can create fun shapes and stripes.
Materials Needed:
– Assorted washi tape rolls (patterns or colors of your choice)
– Measuring tape and pencil (optional)
How to Create:
- Clean your wall surface to ensure the tape sticks well.
- Plan your design – stripes, chevrons, or abstract shapes work well.
- Apply washi tape carefully, smoothing out air bubbles.
- Change or remove as often as you like without damaging walls.
This method is perfect for renters or temporary decor.
6. Wooden Pallet Art
Repurposing wooden pallets or scrap wood can produce rustic, charming wall art.
Materials Needed:
– Pallet wood or wooden boards
– Sandpaper
– Paint or wood stain
– Nails and hammer or wood glue
How to Create:
- Disassemble and sand pallet wood to avoid splinters.
- Arrange pieces to create your desired size and pattern.
- Paint or stain the wood for color and protection.
- Attach hangers or wire to the back for mounting.
This project is excellent for creating large statement pieces with a farmhouse feel.
Final Tips for Successful DIY Wall Décor
– Measure twice, hang once: Always double-check measurements before making holes.
– Cohesive style: Keep color schemes and themes consistent for a harmonious look.
– Mix textures: Combining different materials (wood, fabric, paper) adds visual interest.
– Have fun: Don’t worry about perfection — each piece will reflect your unique style.
Conclusion
Transforming your walls with easy DIY projects is a gratifying way to update your home’s look. From painted canvases to floating shelves and macramé designs, these ideas suit various tastes and budgets. Gather your supplies, tap into your creativity, and make your walls a true reflection of you.
Happy decorating!